General flow changes
In the first version of Gladia API, to get your transcription through an HTTP call, you had to send everything (audio file/url, parameters, etc) in a single HTTP call, and then keep the connection open until you get your result. This was not ideal for many scenarios that could lead to longer waiting time to get your results, or in case of connection errors, not getting your results at all despite the transcription being successful. In V2, we addressed this by decomposing the process in multiple steps, and have merged both audio & video endpoints:Upload your file
This step is optional if you are already working with audio URLs.
/upload endpoint with multipart/form-data
content-type since Gladia /v2/pre-recorded endpoint only accept audio URLs now.More information about this step in the API Referenceaudio_url.Transcribe
We’ll now make the transcription request to Gladia’s API.Instead of More information about this step in the API Reference
/audio/text/audio-transcription now we’ll use /v2/pre-recordedSince
/v2/pre-recorded does not accept any audio file, Content-Type is not
multipart/form-data anymore, but application/json.- Old V1 : The HTTP connection is kept opened until you get your transcription result, and there’s no third step.
-
New V2 : You get an instant response from the request with an
idand aresult_url.
Theidis your transcription ID that you will use to get your transcription result once it’s done. You don’t have to keep any HTTP connection open on your side.
result_urlis returned for convenience. This is a pre-built url with your transcription id in it that you can use to get your result in the next step.
Get the transcription result
As on V1 you get the transcription results in the previous step, this step is only relevant for V2.You can get your transcription results in 3 different ways:
Polling
Polling
Once you post your transcription request, you get a transcription
id and a pre-built result_url for convenience.
To get the result with this method, you’ll just have to GET continuously on the given result_url until the status
of your transcription is done.You can get more information on the different transcriptions status by checking directly the API Reference.Webhook
Webhook
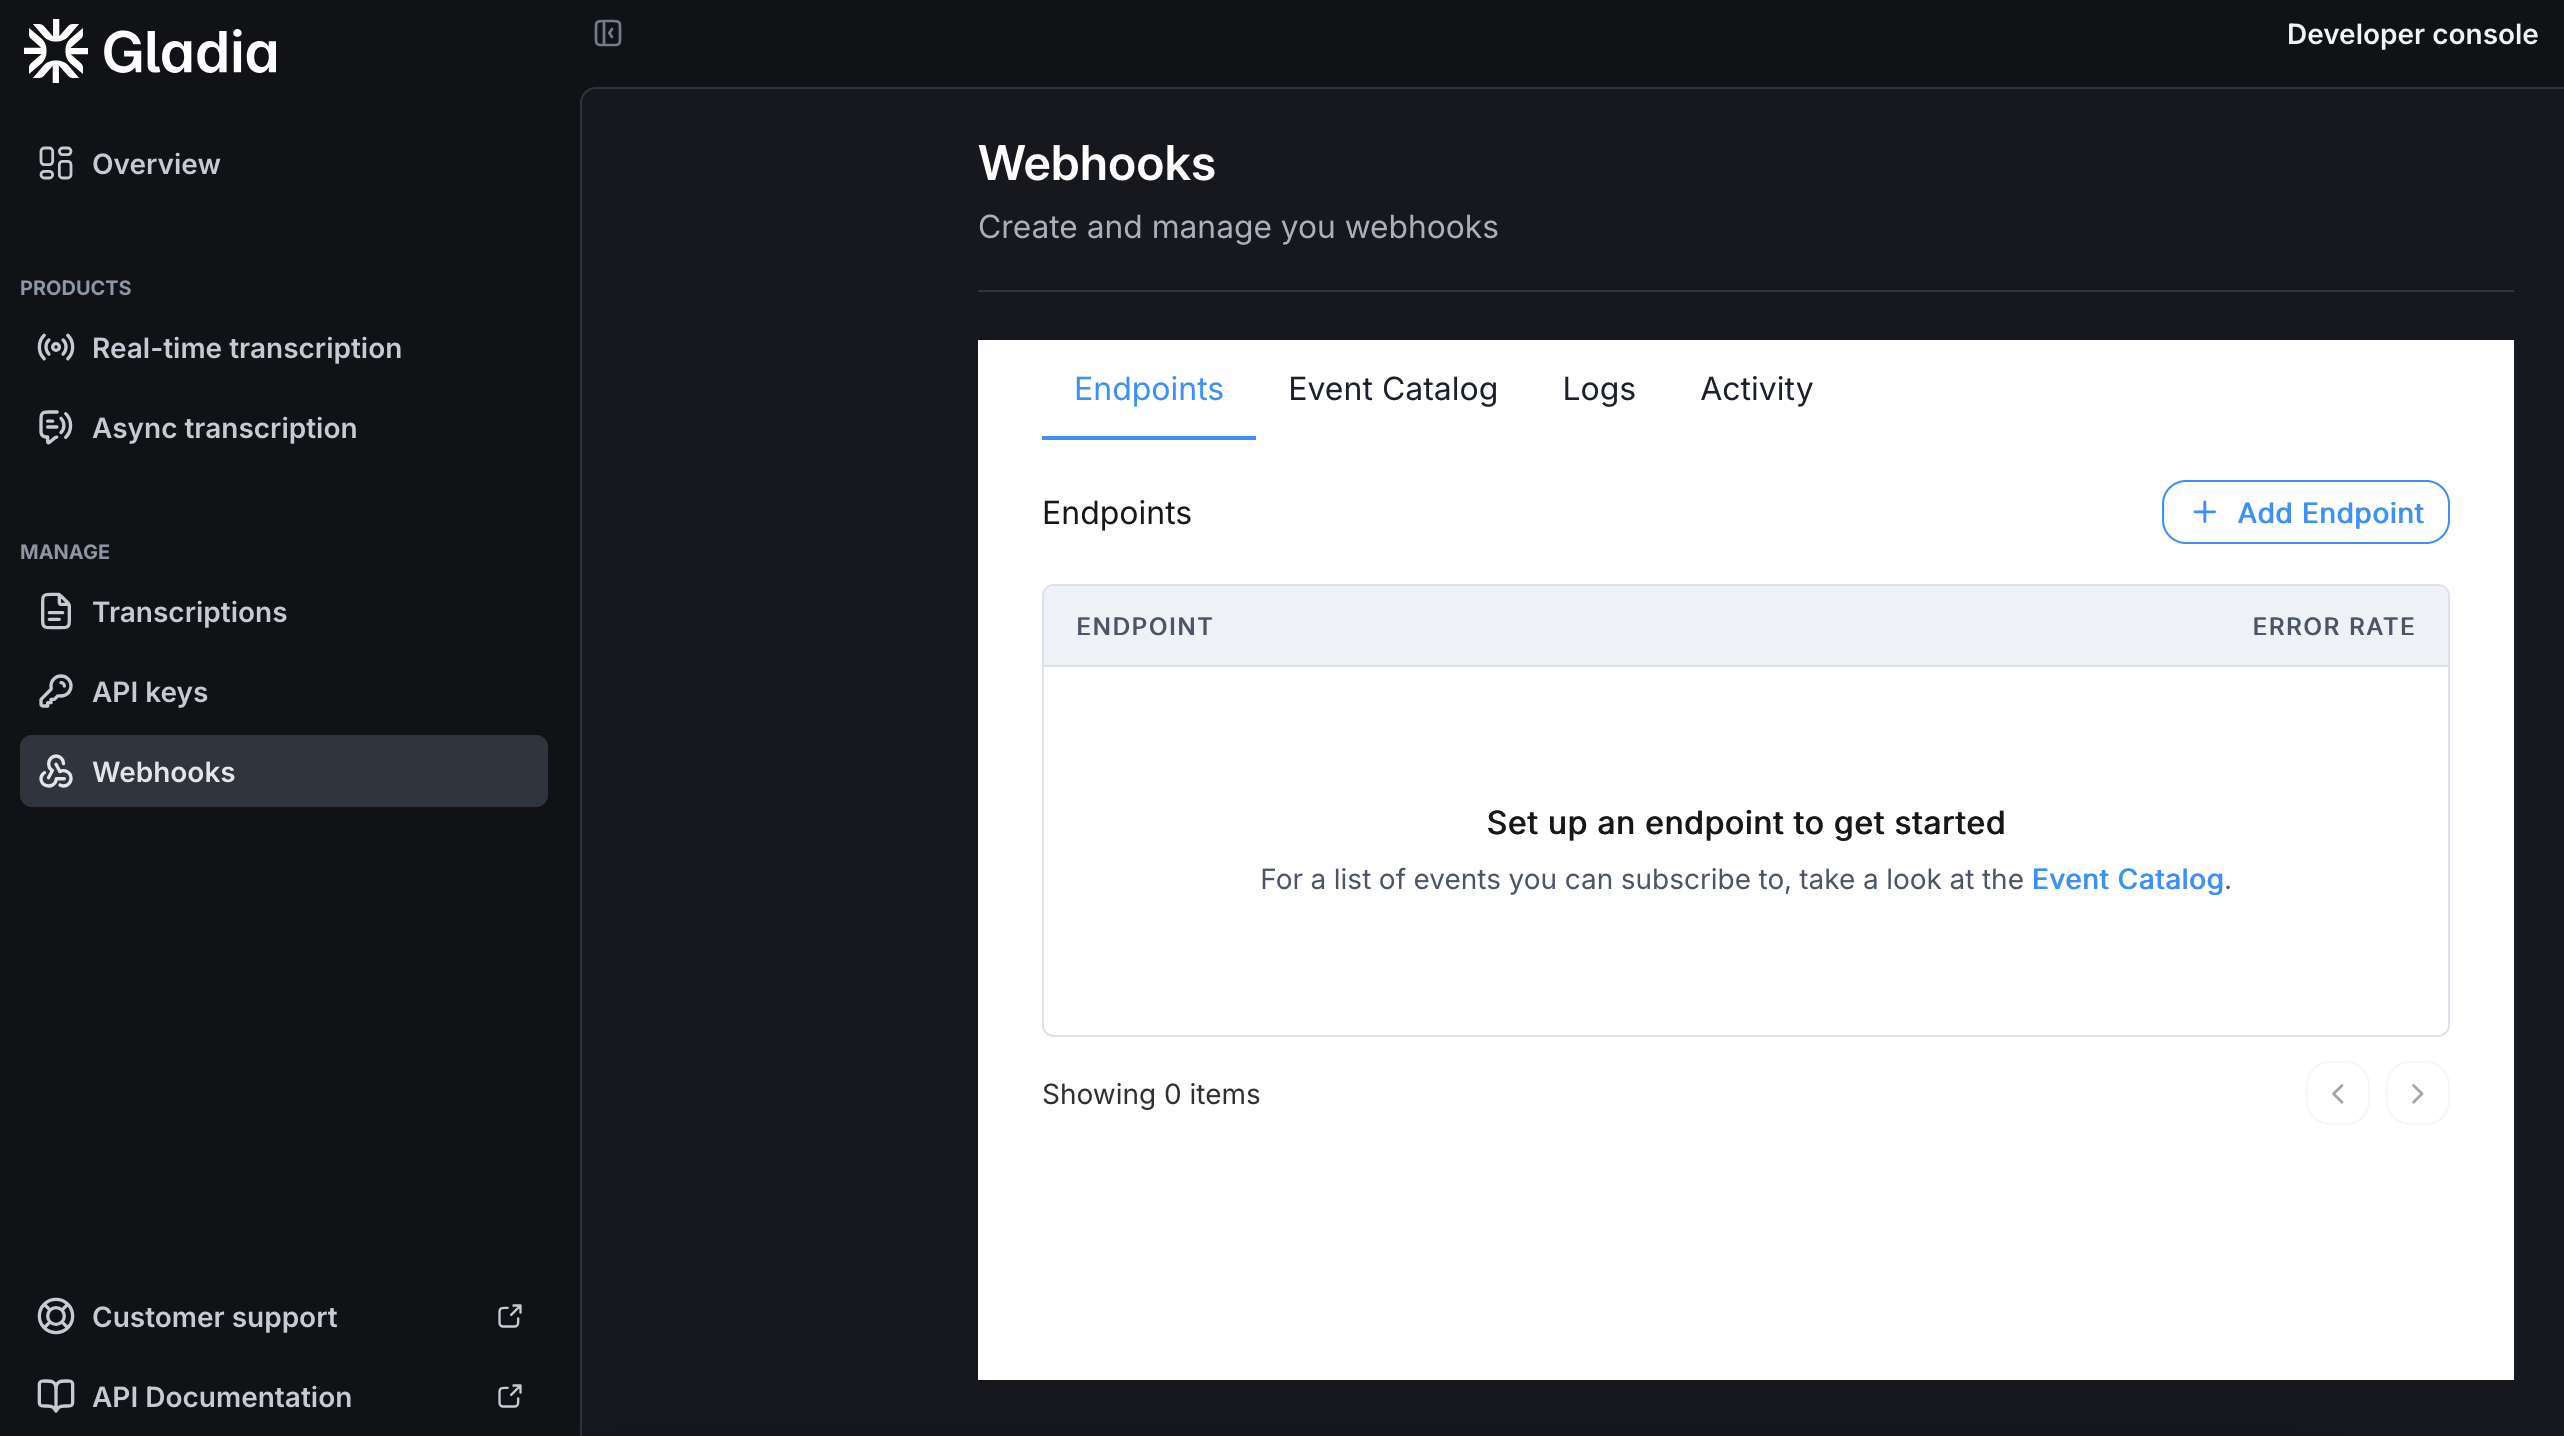
You can configure webhooks at https://app.gladia.io/webhooks to be notified when your transcriptions are done.
For the full body definition, check our API definition.

POST request will be made to the endpoint you configured. The request body is a JSON object containing the transcription id that you can use to retrieve your result with our API.For the full body definition, check our API definition.
Callback URL
Callback URL
Callback are HTTP calls that you can use to get notified when your transcripts are ready.Instead of polling and keeping your server busy and maintaining work, you can use the Once the transcription is done, a request will be made to the url you provided in
callback feature to receive the result to a specified endpoint:callback_config.url using the HTTP method you provided in callback_config.method.
Allowed methods are POST and PUT with the default being POST.The request body is a JSON object containing the transcription id and an event property that tells you if it’s a success or an error.Transcription Input & Output changes
In addition to the transcription flow changes, input & output also changed. To get the exhaustive documentation of the V2 input/output, please refer to the API Reference part of the documentation.Input changes
The most efficient way to get the new inputs list is to check the API Reference. But here’s a quick recap table about the most used parameters changes :| V1 | V2 |
|---|---|
toggle_diarization | diarization |
language_behaviour | detect_language, enable_code_switching, language |
output_format | subtitles + subtitles_config |
webhook_url | callback_url |

