Select your audio source
Choose your audio source (stream from you microphone, or upload a local file)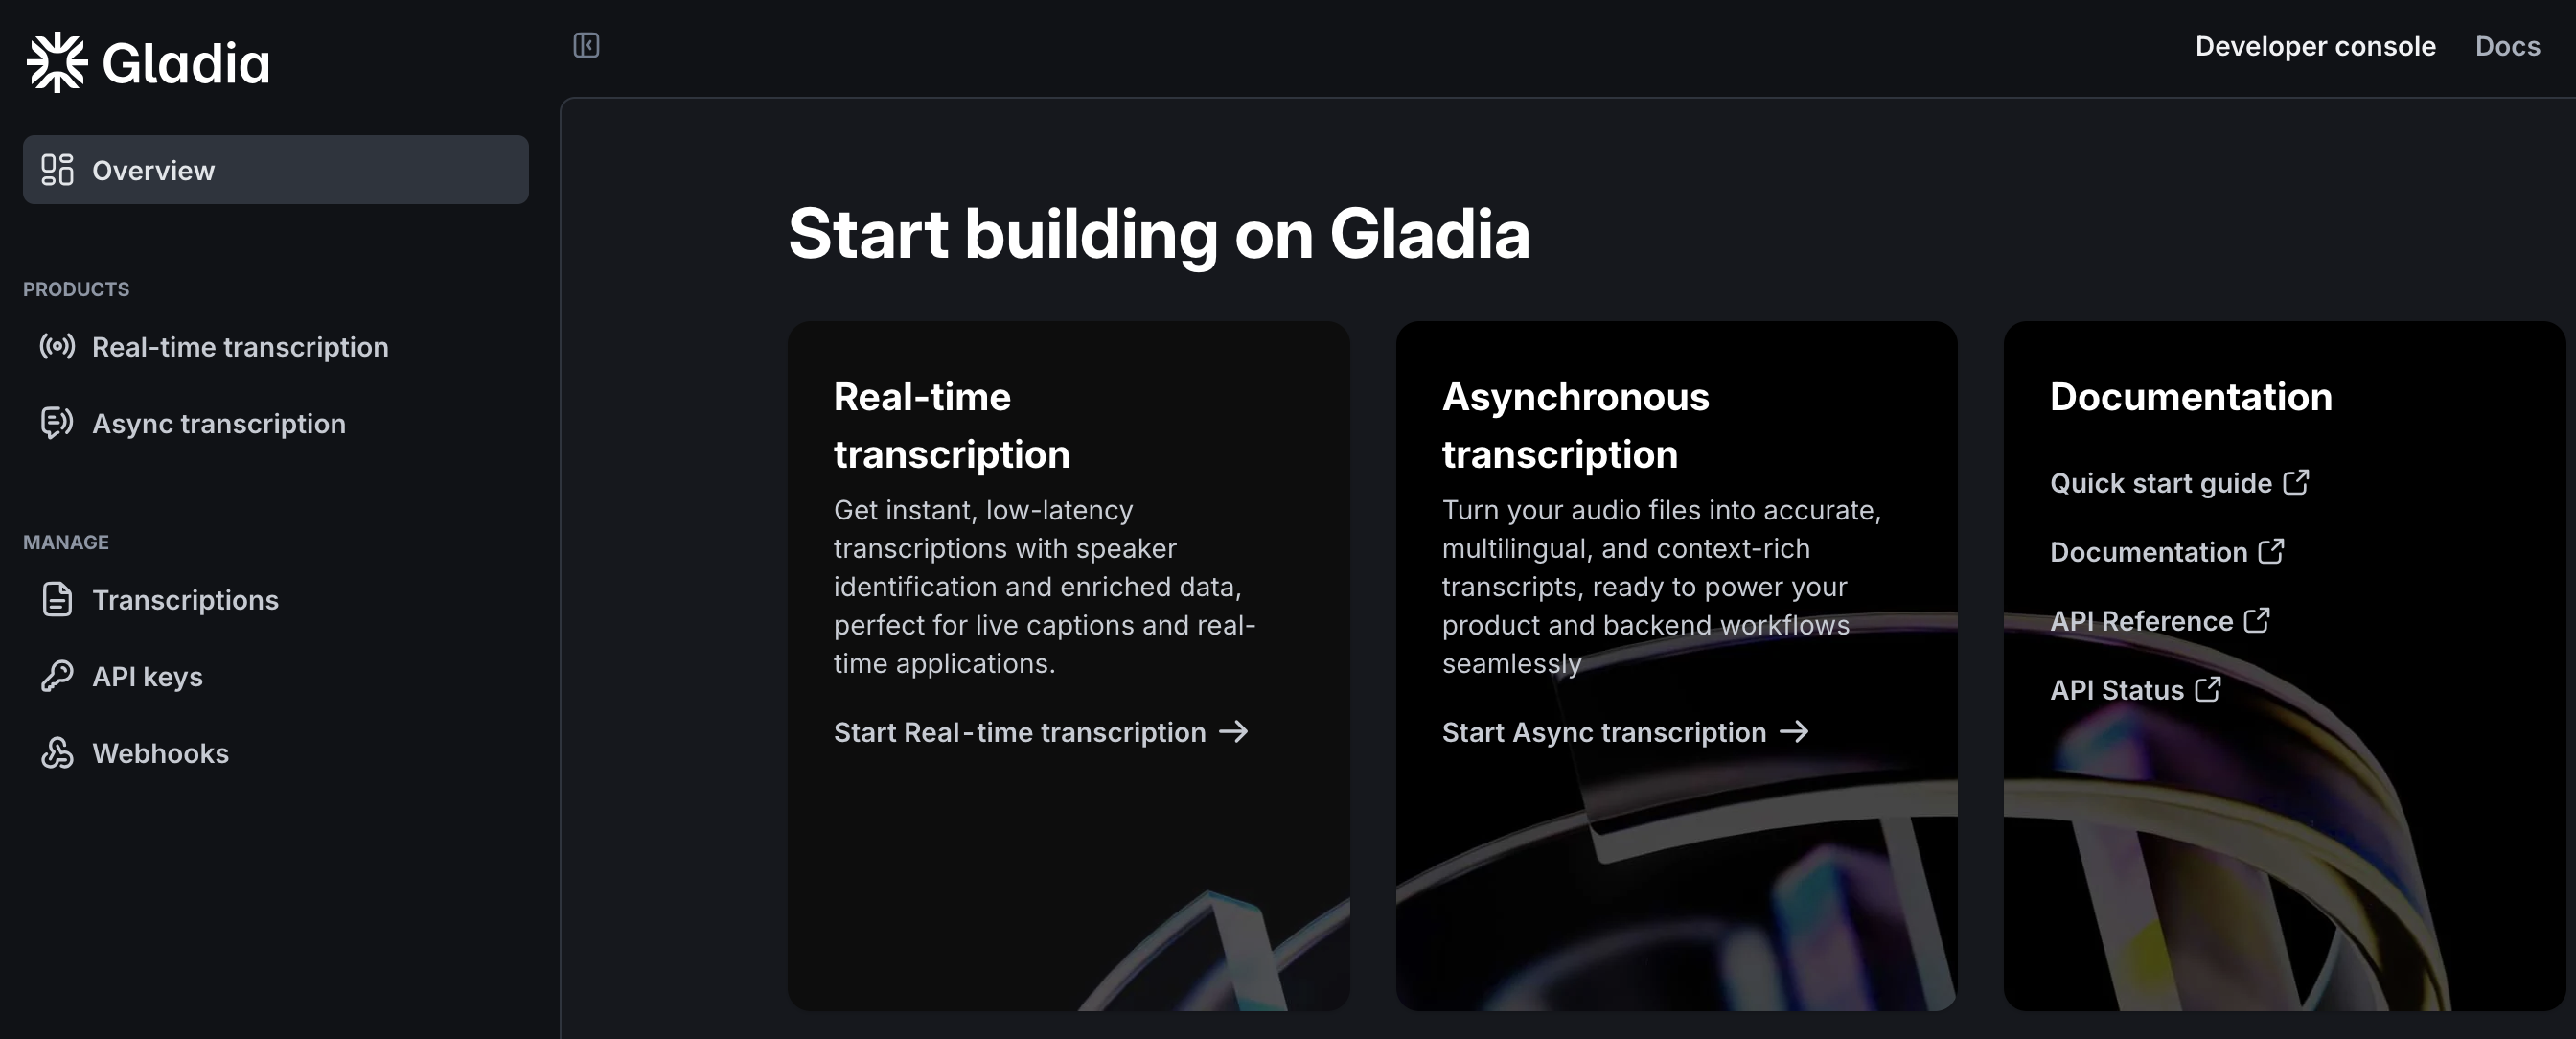
Select features
You’ll be able to select Gladia API provide for your transcription.
For this example, we want to detect the named entity (like email adresses, phone numbers, etc.), so we turned on named entity recognition.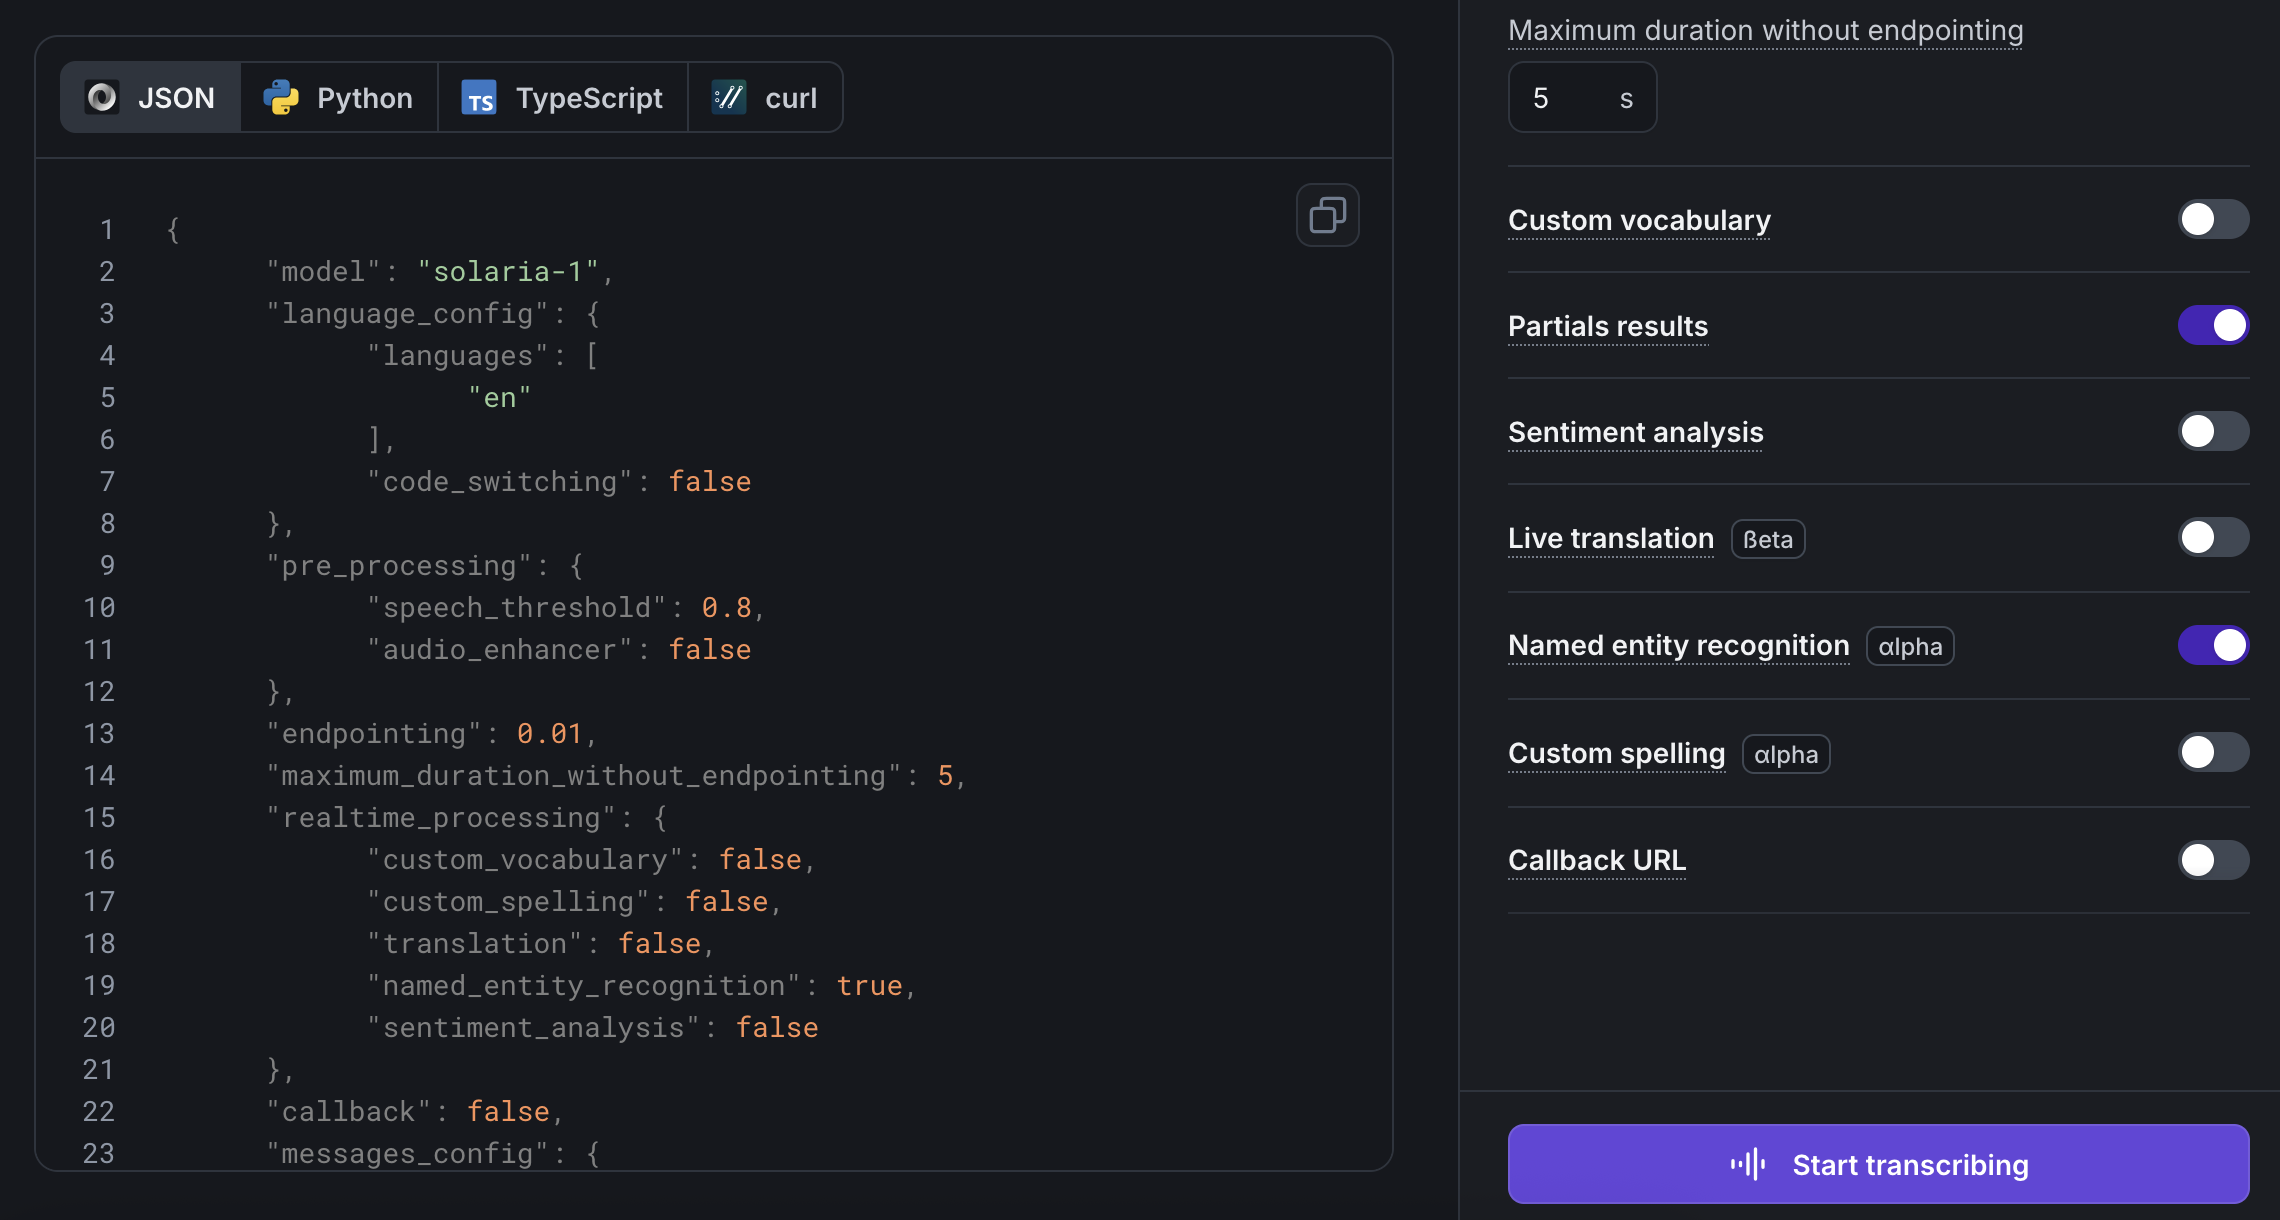
For this example, we want to detect the named entity (like email adresses, phone numbers, etc.), so we turned on named entity recognition.
Only a few features of Gladia API are available on the playground. For more advanced testing,
check our API documentation instead.
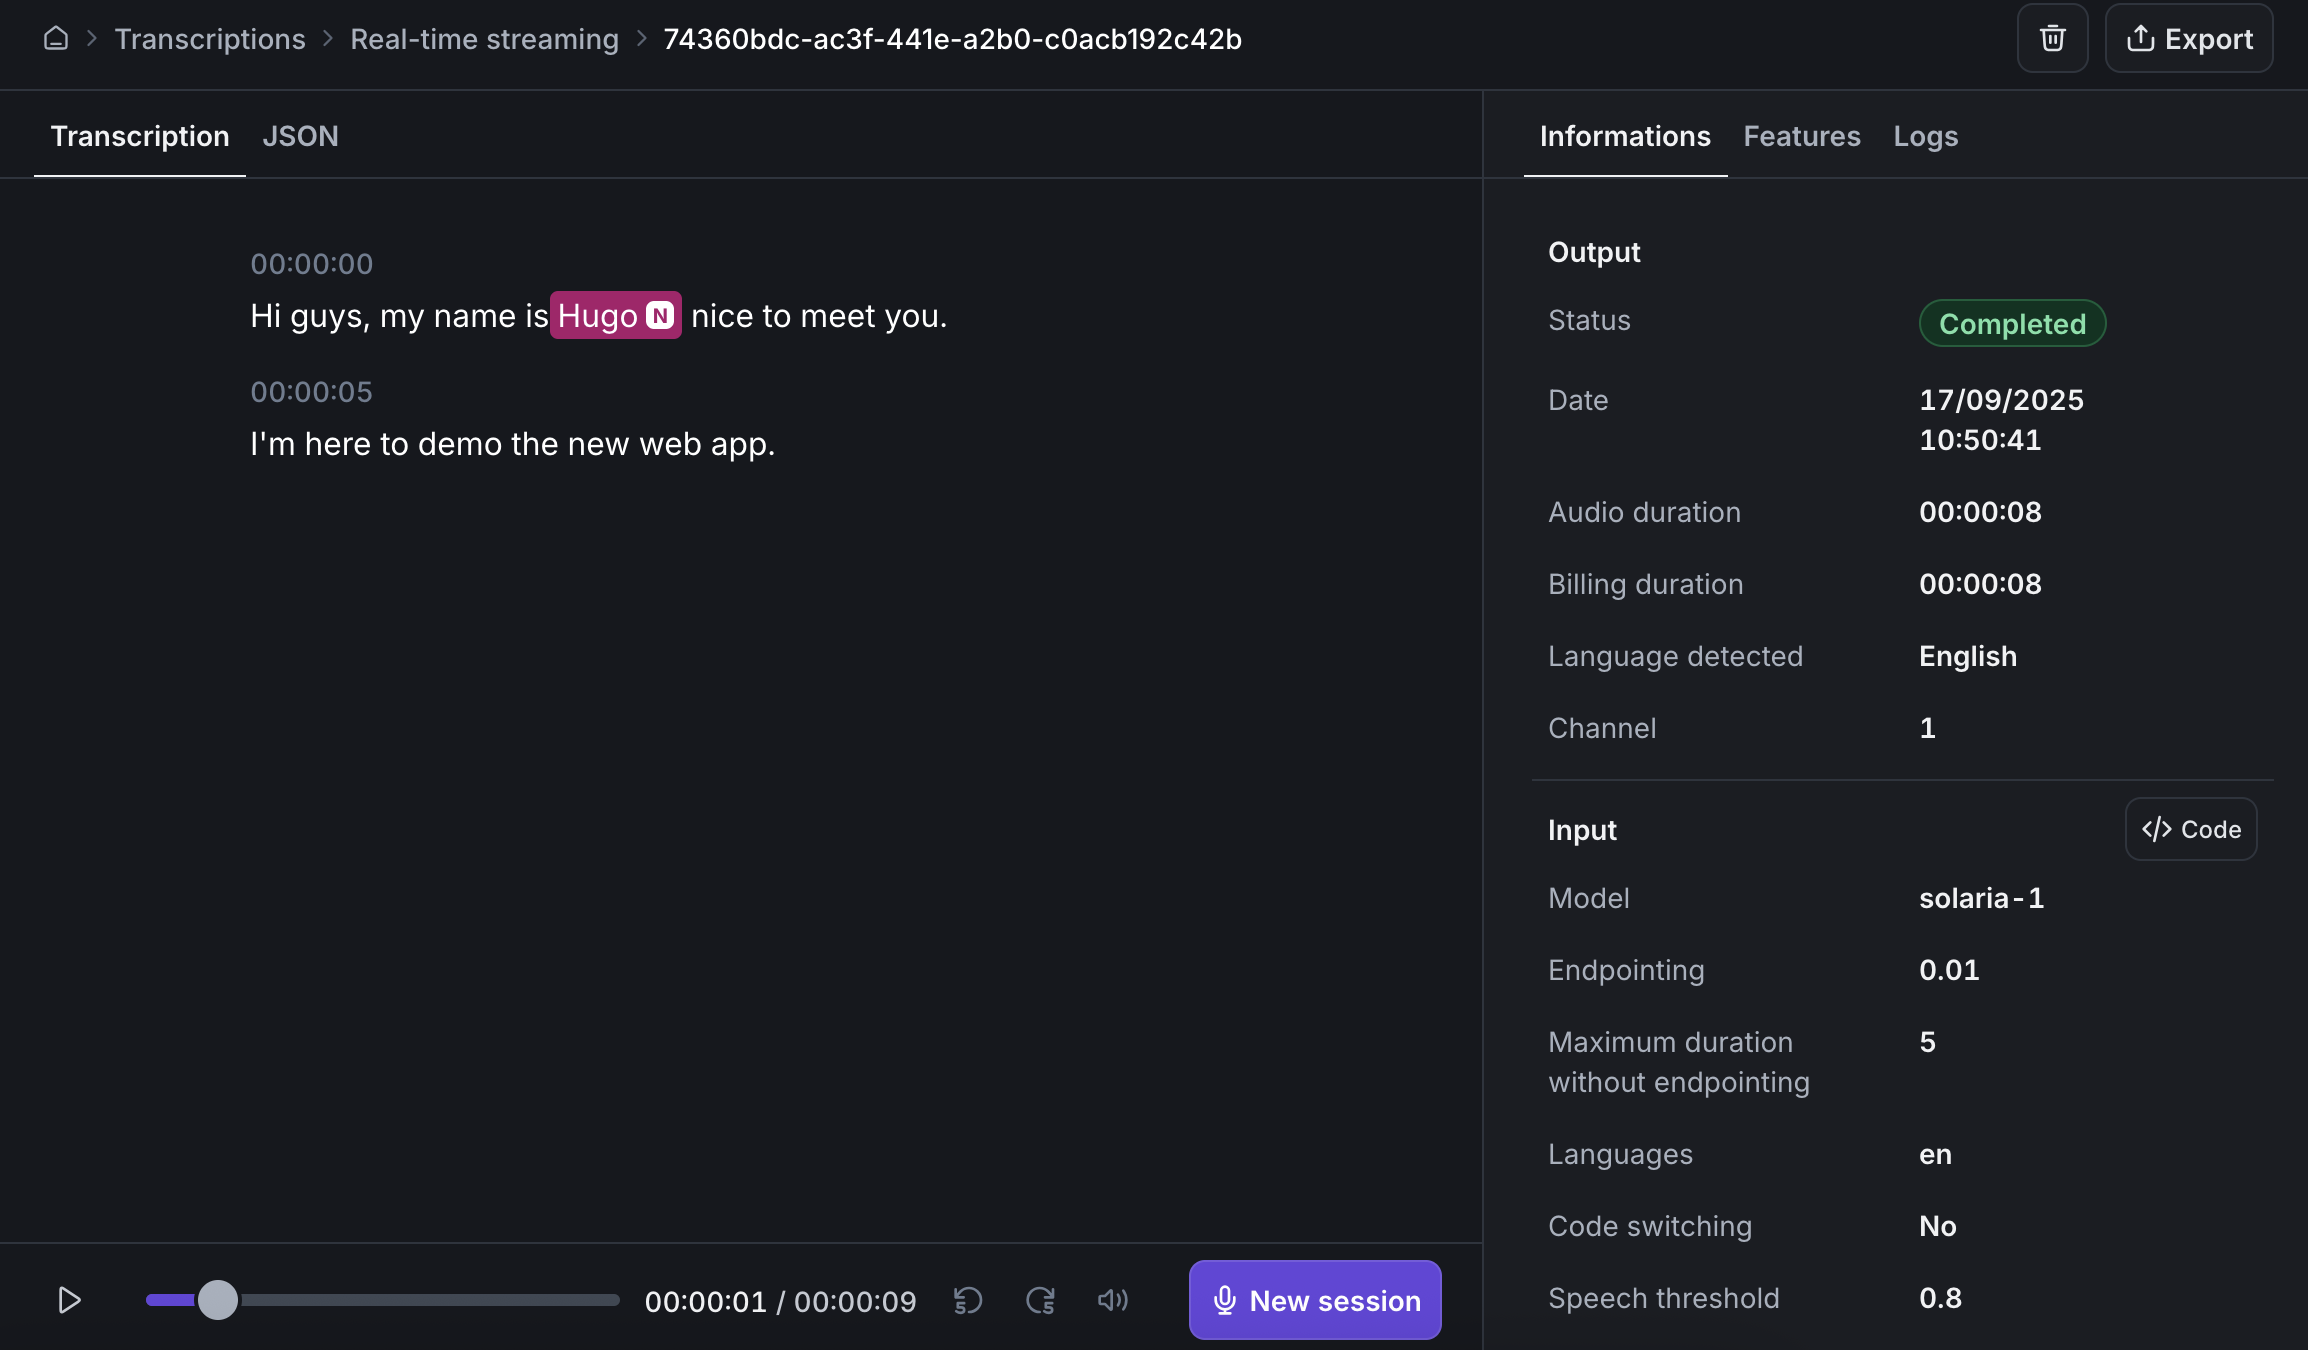
Talk to Gladia
You can talk to Gladia by clicking on the “Start transcribing” button, and you’ll be able to see the transcription of your voice in the “Transcription” tab.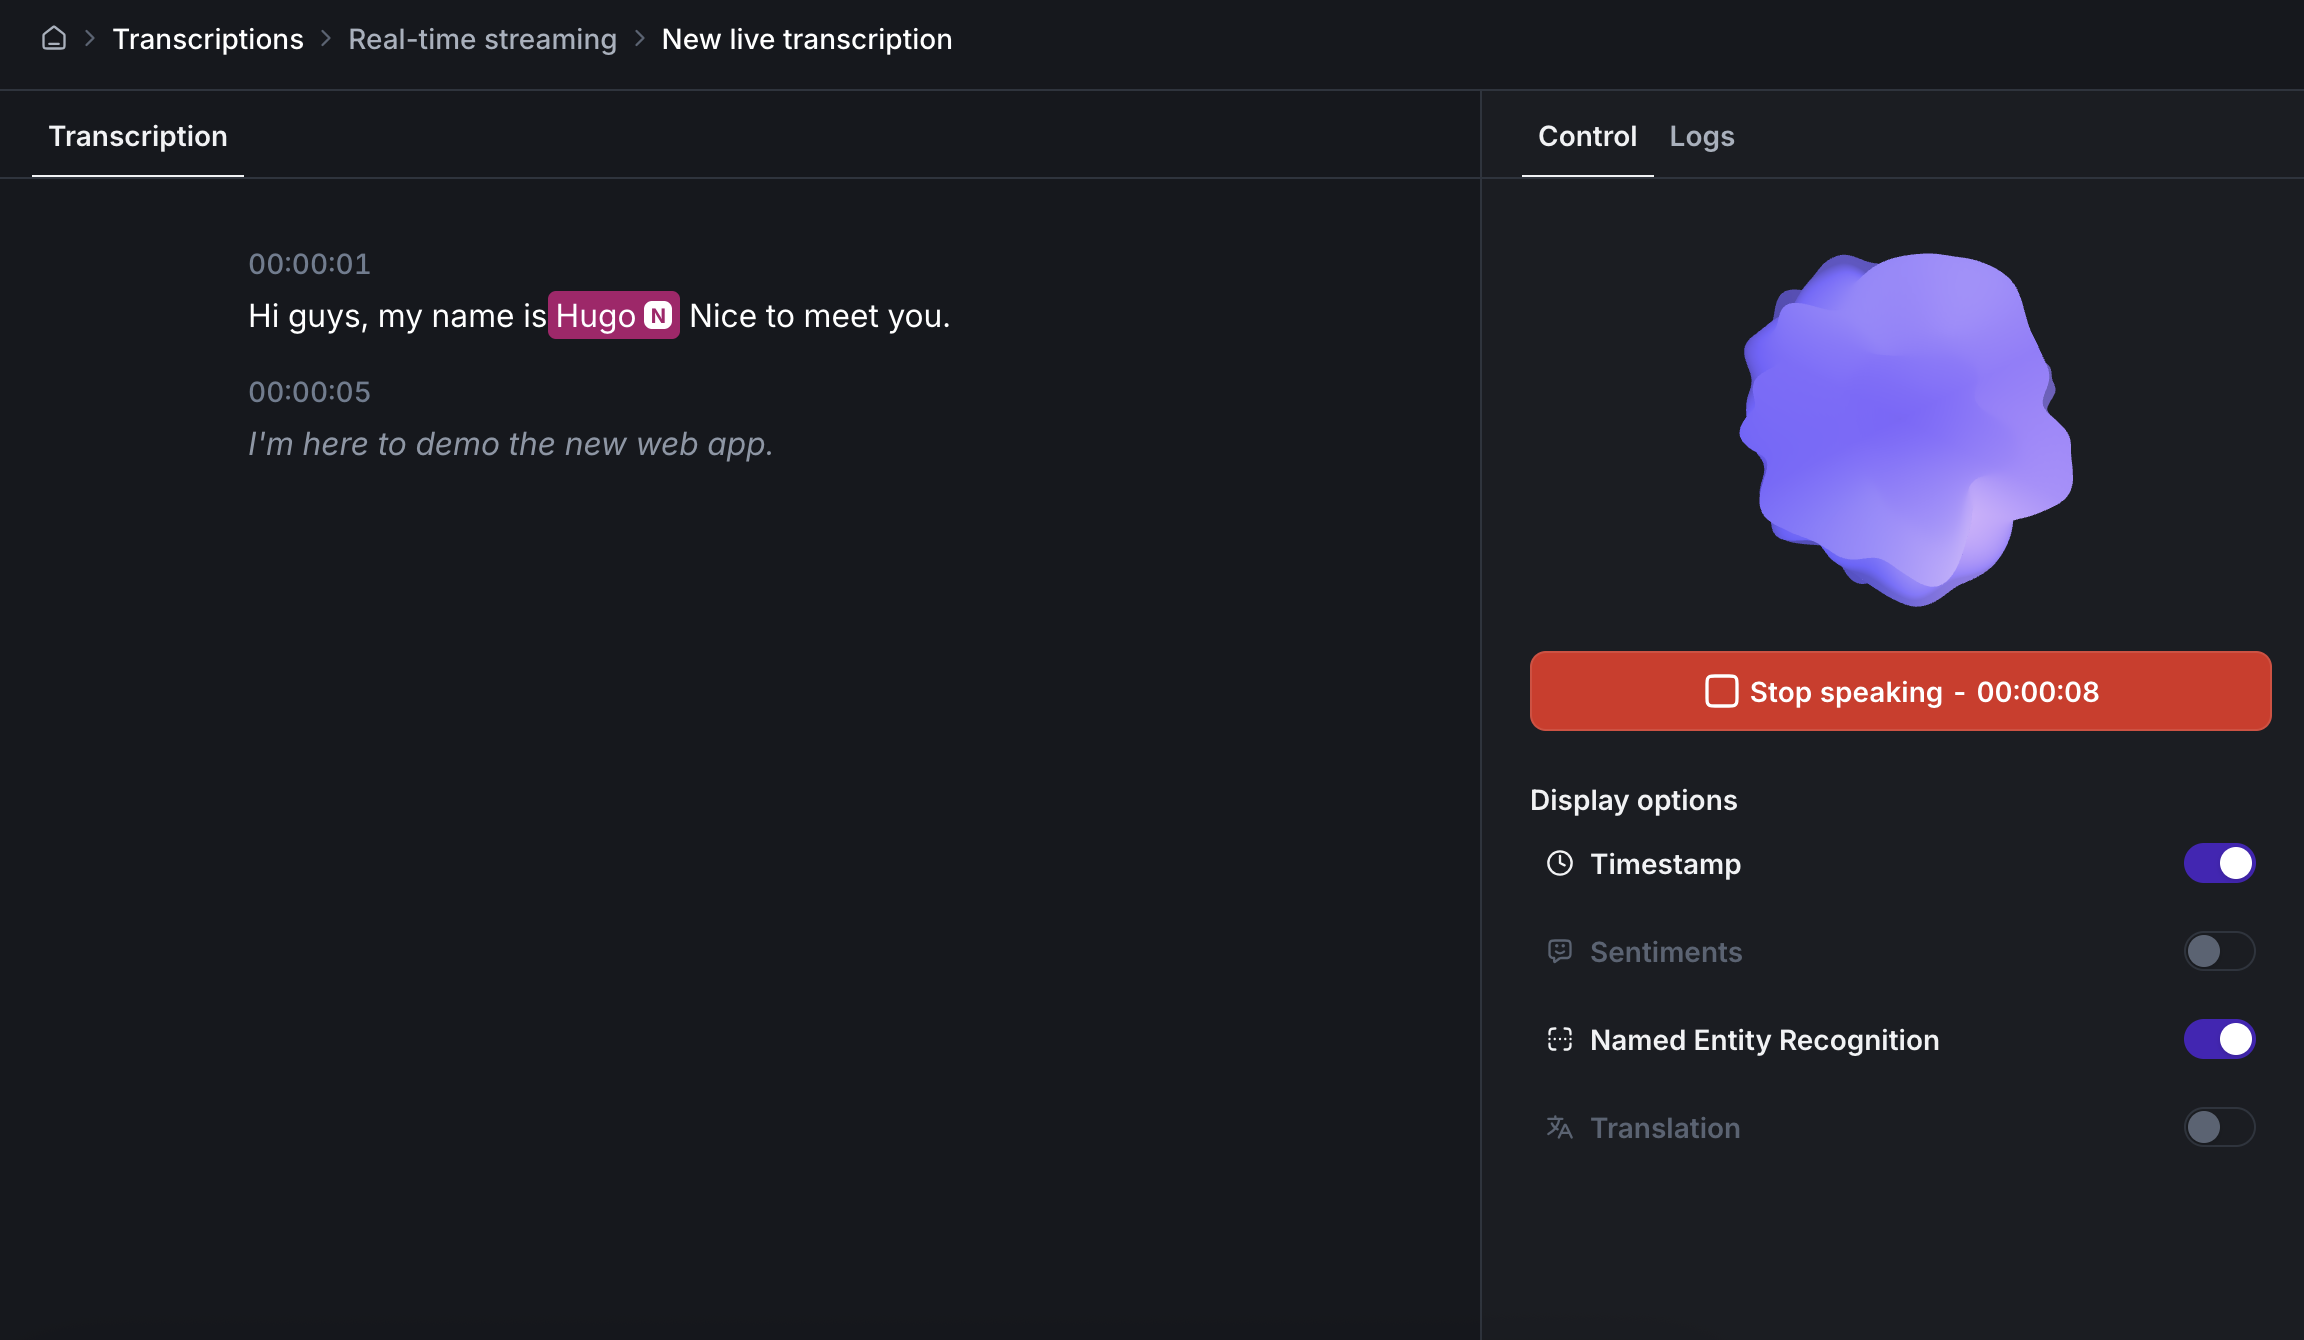
Text in italic in the transcription represents partials transcripts.